Custom Build Log 1
For this build the client had a PC he had purchased a year earlier that he wanted to upgrade so he could start gaming on it. He was on a budget so he wanted something that could be upgraded in the future, but would still be able to hold its own with current release titles. The case that he came in with was in really good condition. It didn’t support front panel USB 3.0 but that was not going to be an issue 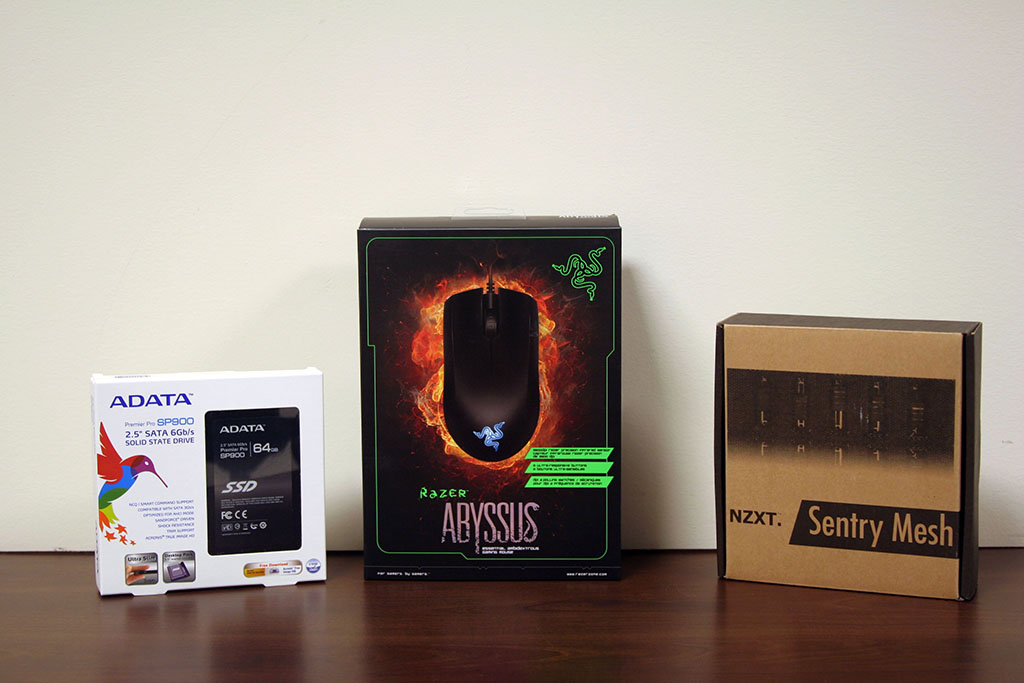 with the client as there were still rear panel USB 3.0 ports. So the case stays. His mother board had but 1 PCIe 2.0 x16 port. Because the current video card technology is now PCIe 3.0 x16 we decided to upgrade it to something that was not only PCIe 3.0 but also had one extra PCIe slot so that we can add an additional GPU for
 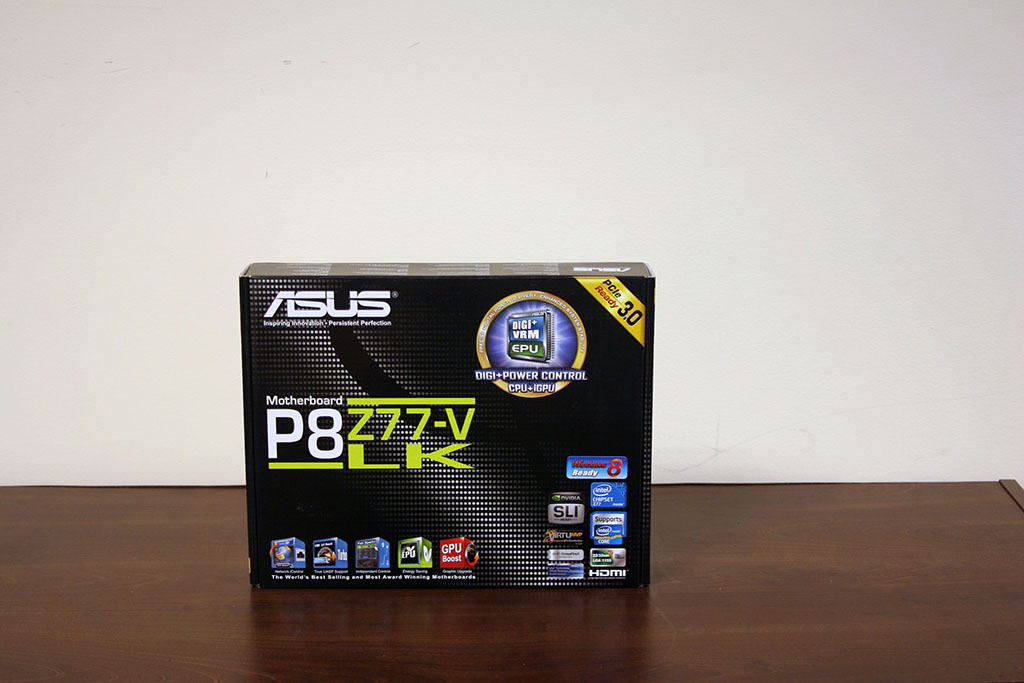 added performance. Client has plans to add the extra card at a later date so he can use 3 displays at once while gaming. For nVidia this is called NVIDIA 3D VISION. So with the new motherboard comes a new processor. So we decided, in help to keep the price down, to go with a 3rd generation Ivy
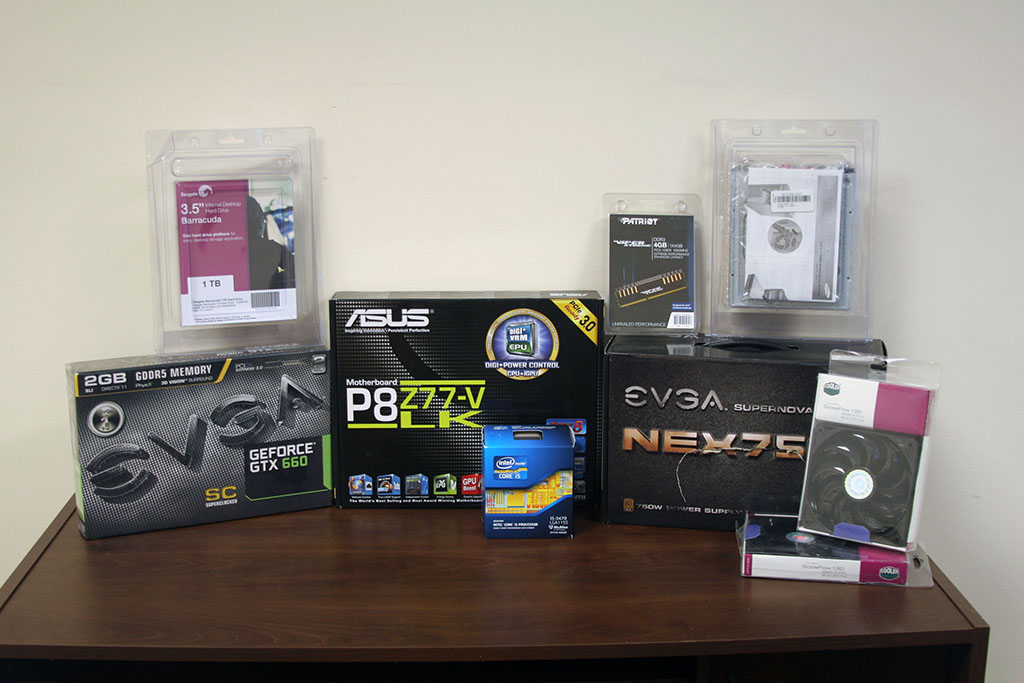
 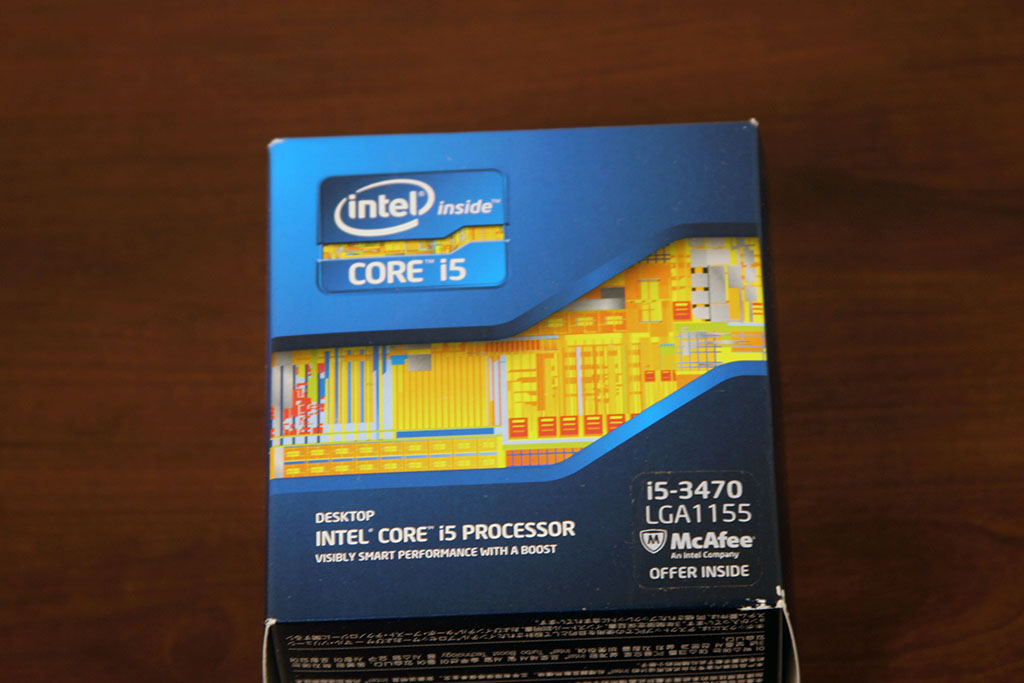 Bridge i5 processor, a few steps down from the top. With games not really supporting Hyper-Threading it was decided that we wouldn’t go for the i7. Instead we settled with a quad core i5-3470. While in turbo boost this is only 200MHz slower than the top i5 in its family. With this mother board we also went from DDR2 to DDR3 so we also needed to get some memory. We started with a single 4GB stick, leaving 3 slots empty for future upgrading to 16GB in dual channel. Now on to the video
  card, for this build we went with 1 EVGA GEFORCE GTX 660 SC. This card comes overclocked from the factory. While this card is PCIe 3.0, it is last generation as nVidia has moved to the 7xx series. It is still, however, a viable card for gaming, on top of the fact that you can use this card in 2-way SLI. To support his future plan to add another GPU to the system we got a power supply that will handle this upgrade without having to make an additional purchase.
 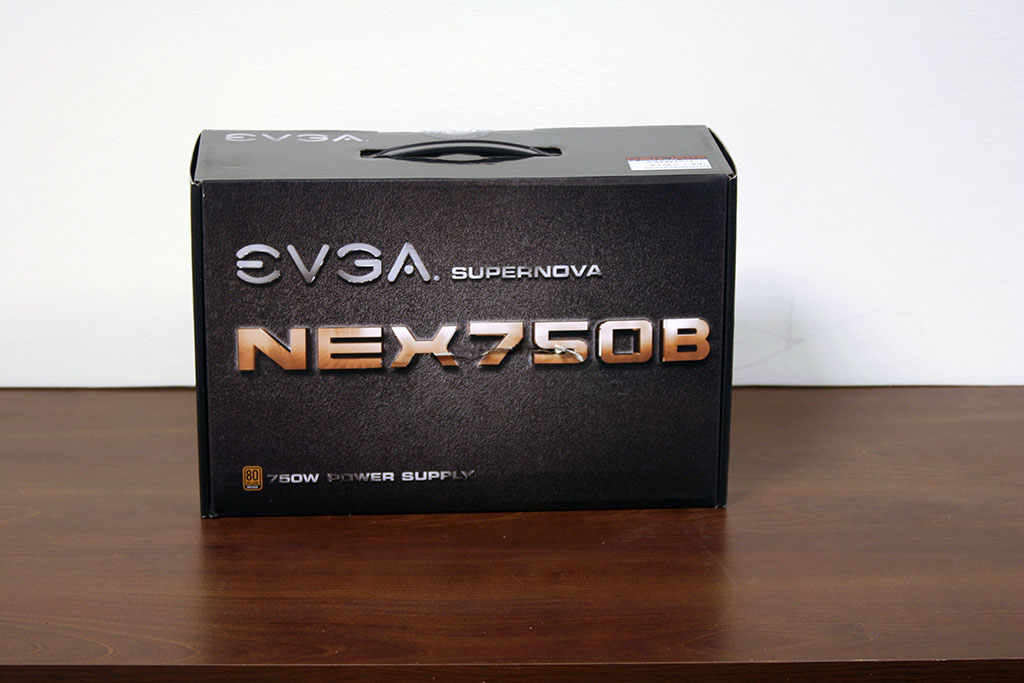 The EVGA Supernova NEX750B 750W power supply was our choice. Not only is this power supply already set up for SLI, it’s modular. This is great when it comes to cable management. You only need to install the cables you need, eliminating the need to hide the excess. The final piece of this build is the display, an ASUS VN247H-P. It’s a 24” 16:9 widescreen 1080p display with a contrast of 80M:1 and a refresh rate of 1 millisecond.
Below are some images of this build's progress. You may click on any image to enlarge.
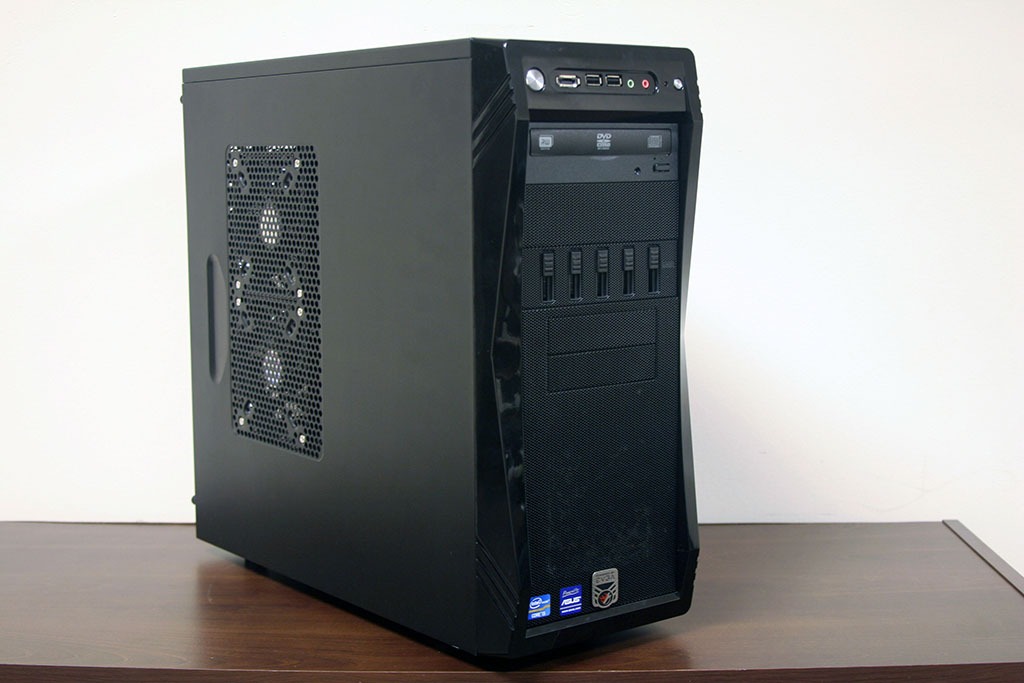
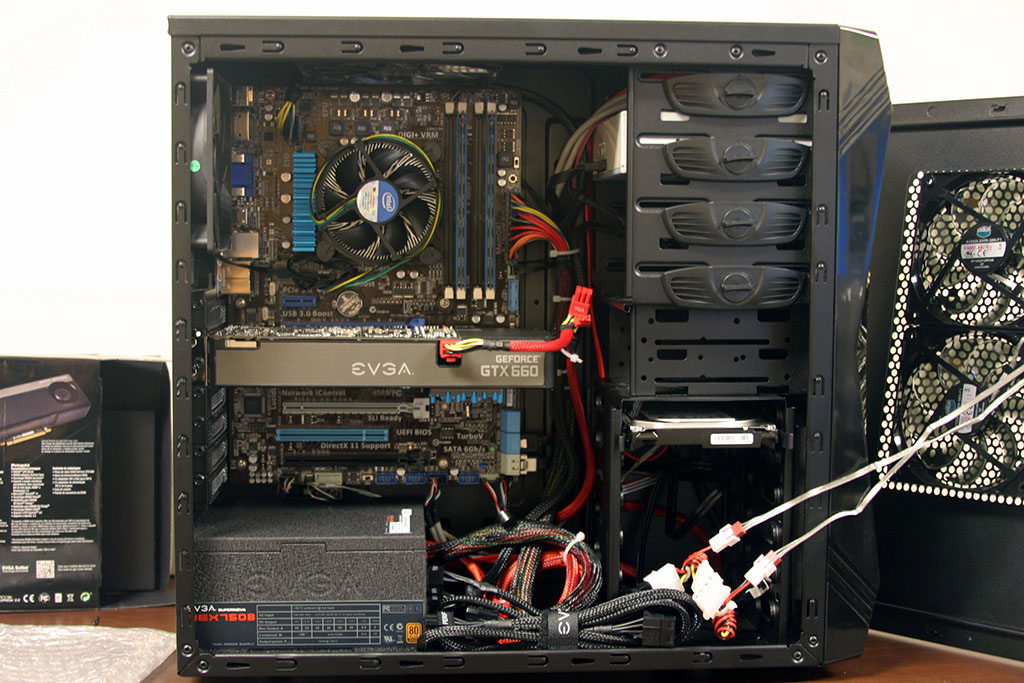
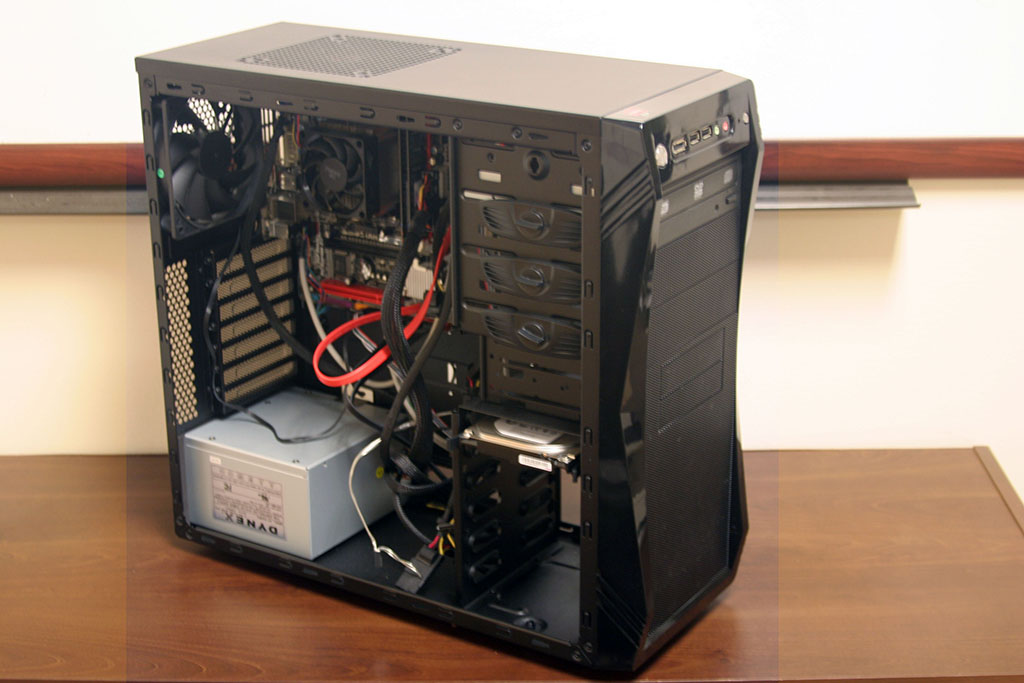 • This is the clients computer before the upgrades.
• Notice how there are cables running everywhere.
 • Everything was removed but the optical drive, front panel cables, and the 2 case fans.
• This was a great chance to get rid of dust.
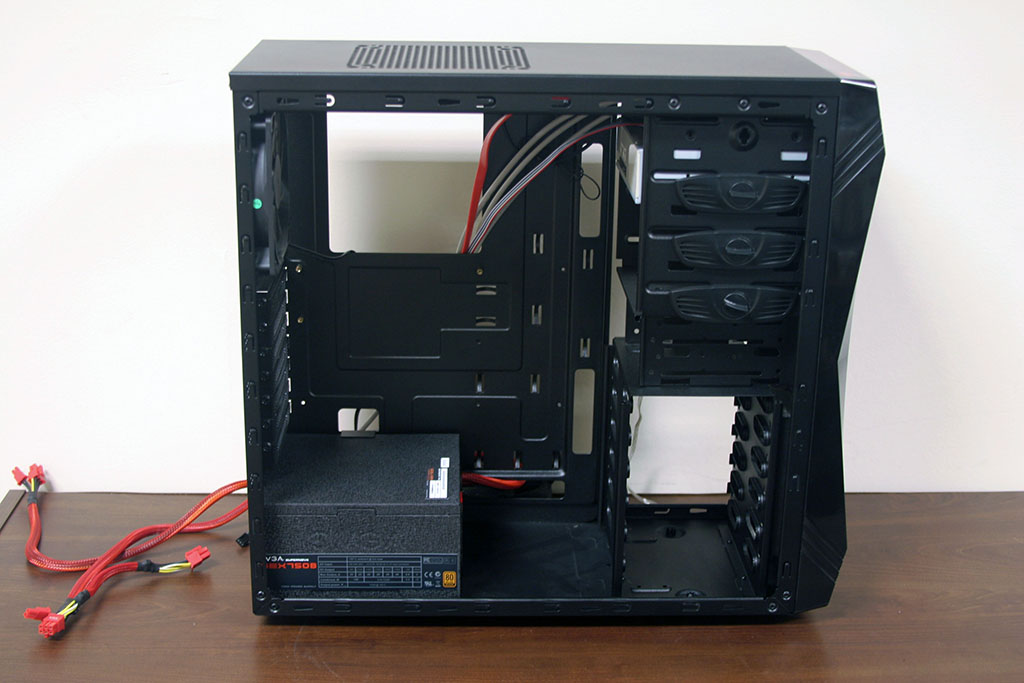 • With the location of the power supply being on the bottom it can suck cool air in from the outside and it pushes its hot air out of the case, keeping it cooler in there for the rest of your equipment.
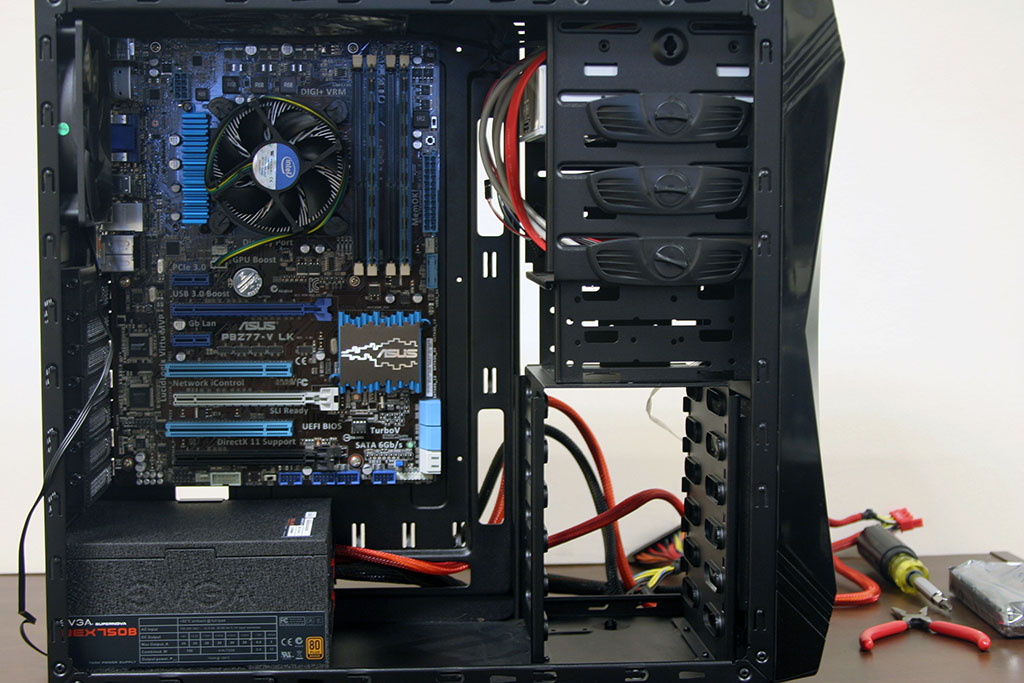 • Now that the mother board is equipped with the CPU and memory, and the power supply is in, it's time to take care of some cable management
• Great cable management helps to ensure proper air flow.
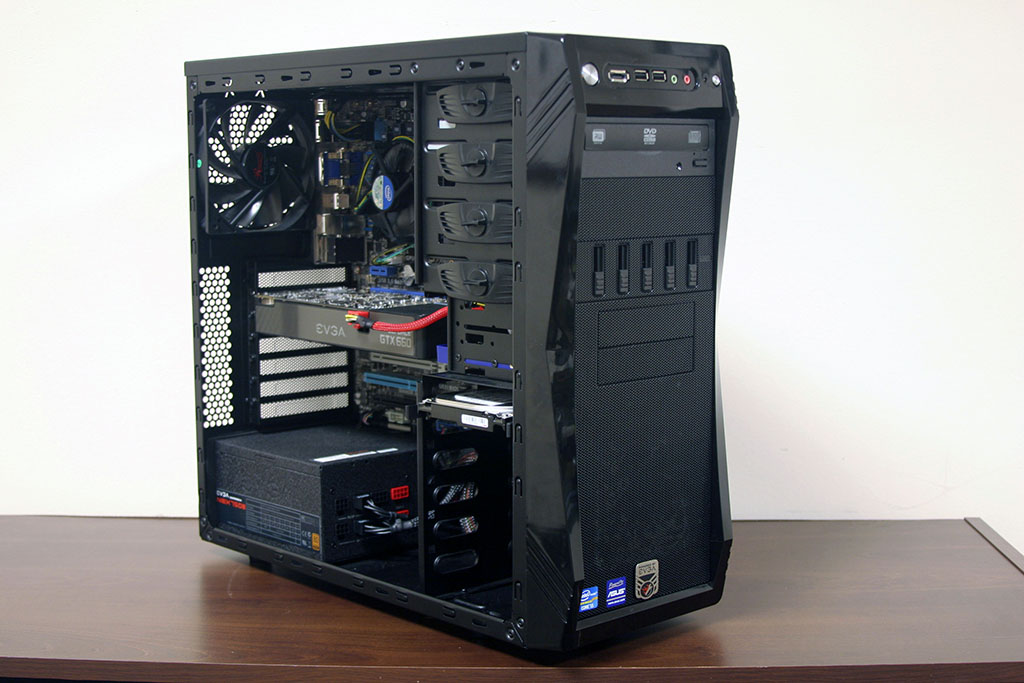
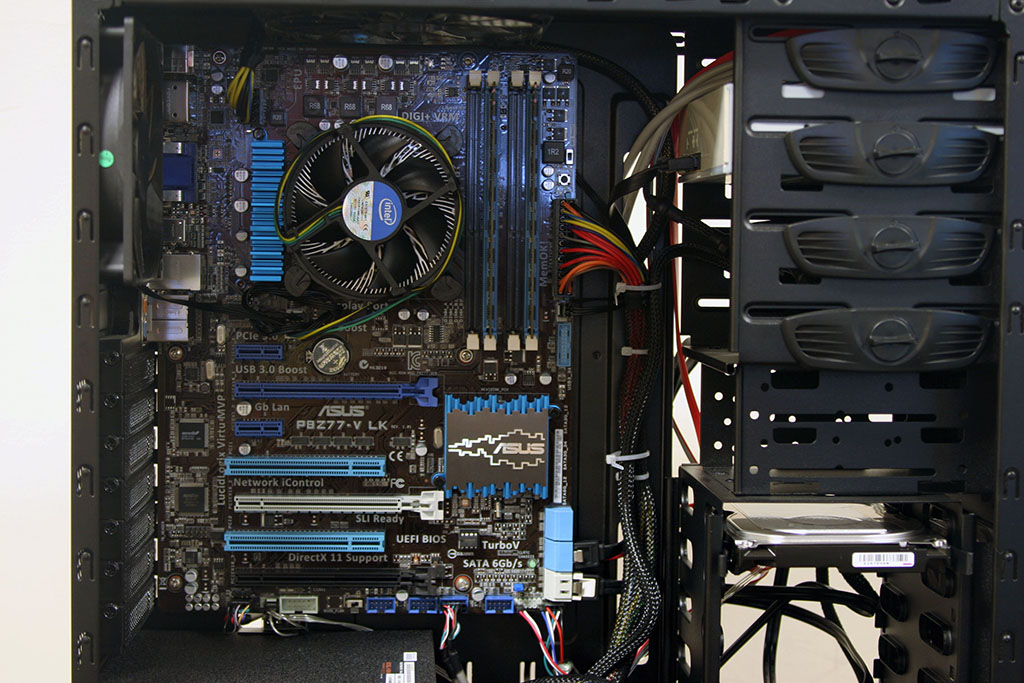 • This is the mother board completely wired.
• I was able to get all of the cabling neatly lined up and tied down.
• This will make installing the GTX 660 SC much easier, and allow it room to breathe.
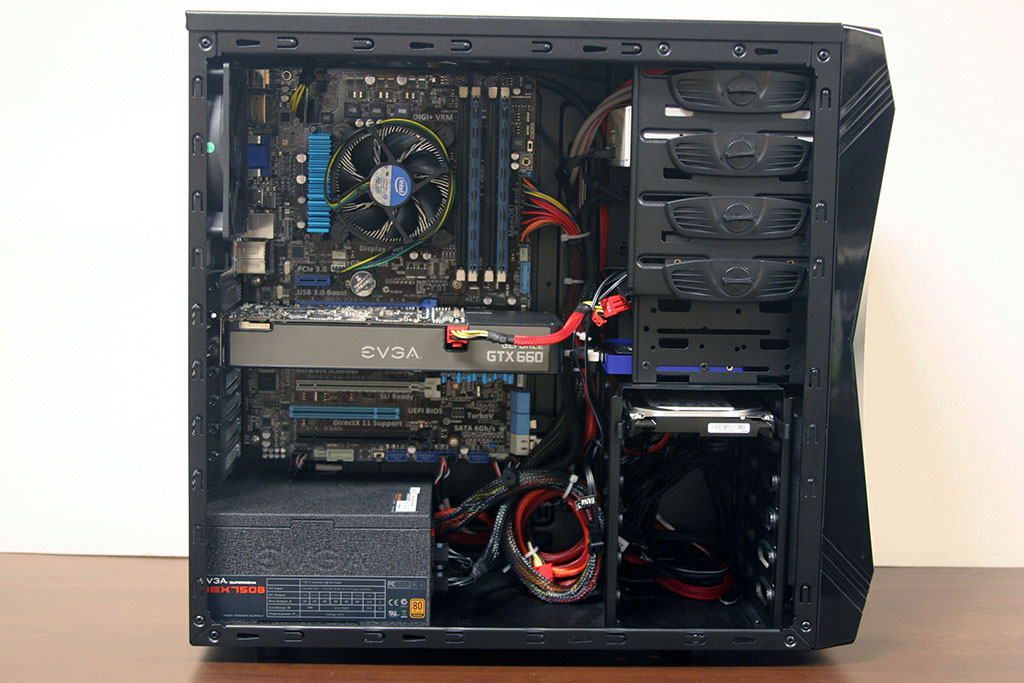
 • With the video card installed, and all of the cables not disturbing the air flow we are about complete.
• At this point we are just waiting for the SSD and the fan controller to arrive.
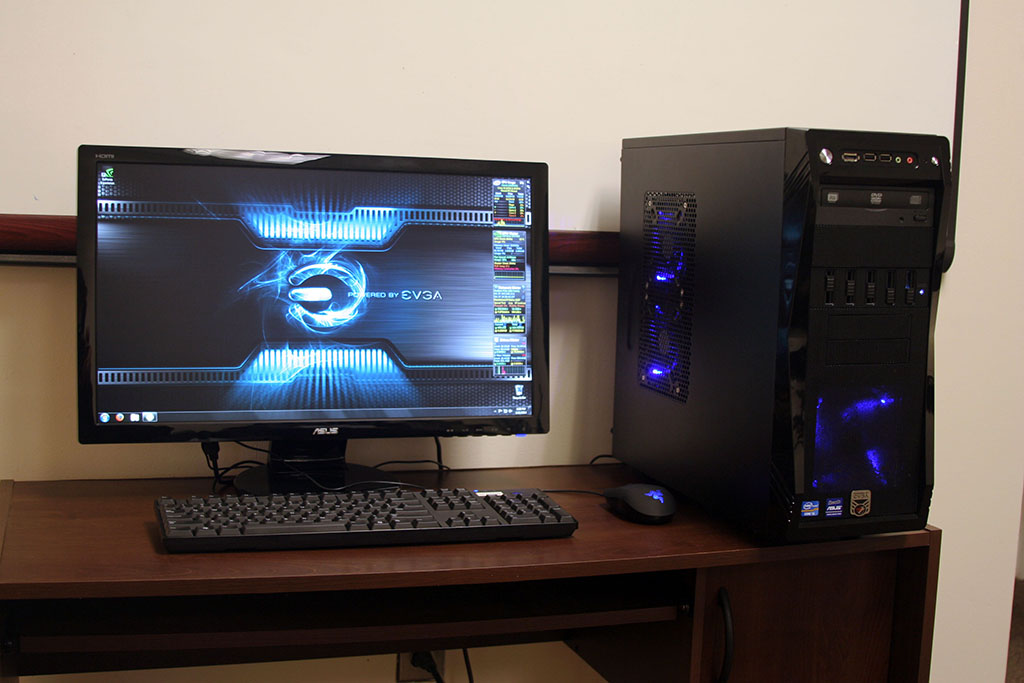
 • Now we have the 5x fan controller installed. This will help to keep this computer as quiet as possible.
• And the SSD will help your computer boot up in no time at all.